> ## Documentation Index
> Fetch the complete documentation index at: https://www.referly.so/docs/llms.txt
> Use this file to discover all available pages before exploring further.
# Setting up login and sign up for affiliates
> Set up your affiliate login and sign-up pages in Referly: choose one of four page styles, customize the logo, title, subtitle, background, and carousel images, preview desktop and mobile, and see which styles need the Business plan.
Your login and sign-up pages are the first thing an affiliate sees when they join your program or come back to check their earnings. On the **Login and Sign Up** screen you pick the layout for those two pages and customize how they look, so they match your brand instead of showing a plain form. Everything you change shows up in a live preview, and nothing goes live until you save.
To find it, open **Settings** from the left sidebar, go to **Affiliate Portal**, then select **Login and Sign Up**. The screen has three parts: the **Page Style** picker at the top, a live **Preview**, and a **Customization** area where you set the details.
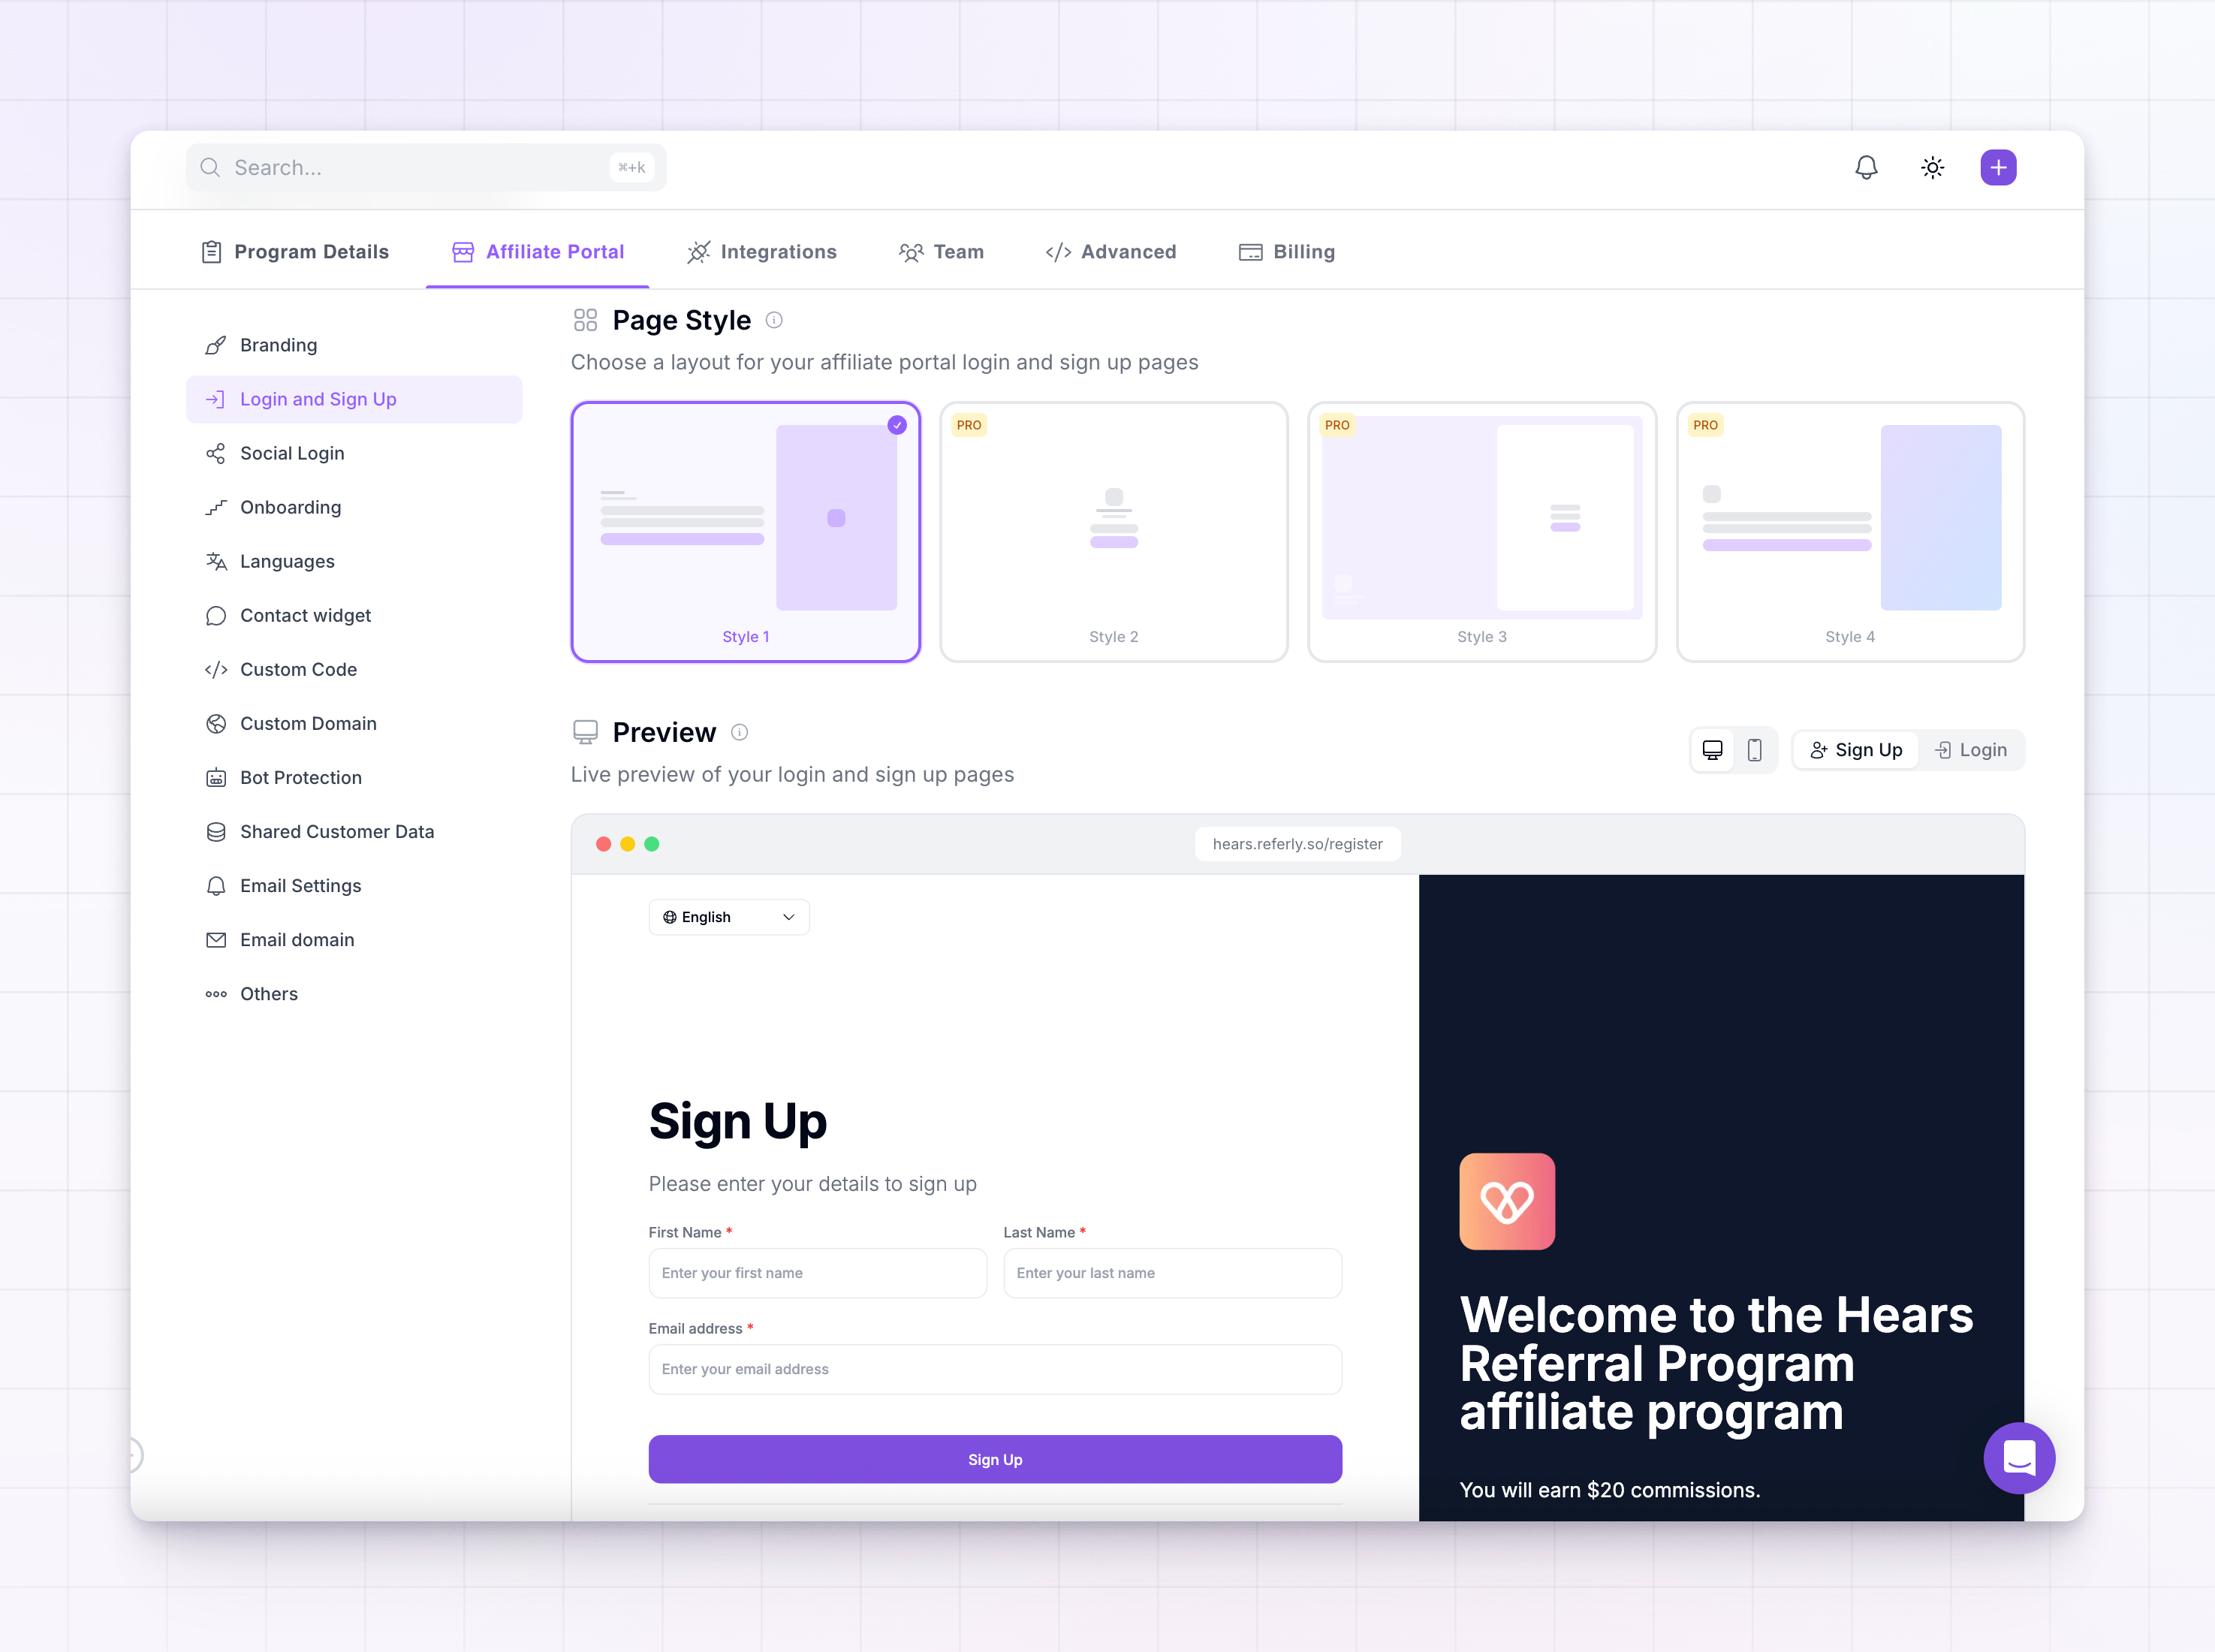
You need to be signed in to your Referly dashboard with access to program settings. Style 1 works on any paid plan. Styles 2, 3, and 4 need the Business plan or higher. See [plans and features](/docs/help-center/billing/plans-and-features) for what each plan includes.
## Choose a page style
The **Page Style** section sets the overall layout of your login and sign-up pages. Pick one of four styles. Styles 2, 3, and 4 show a **PRO** badge because they need the Business plan or higher.
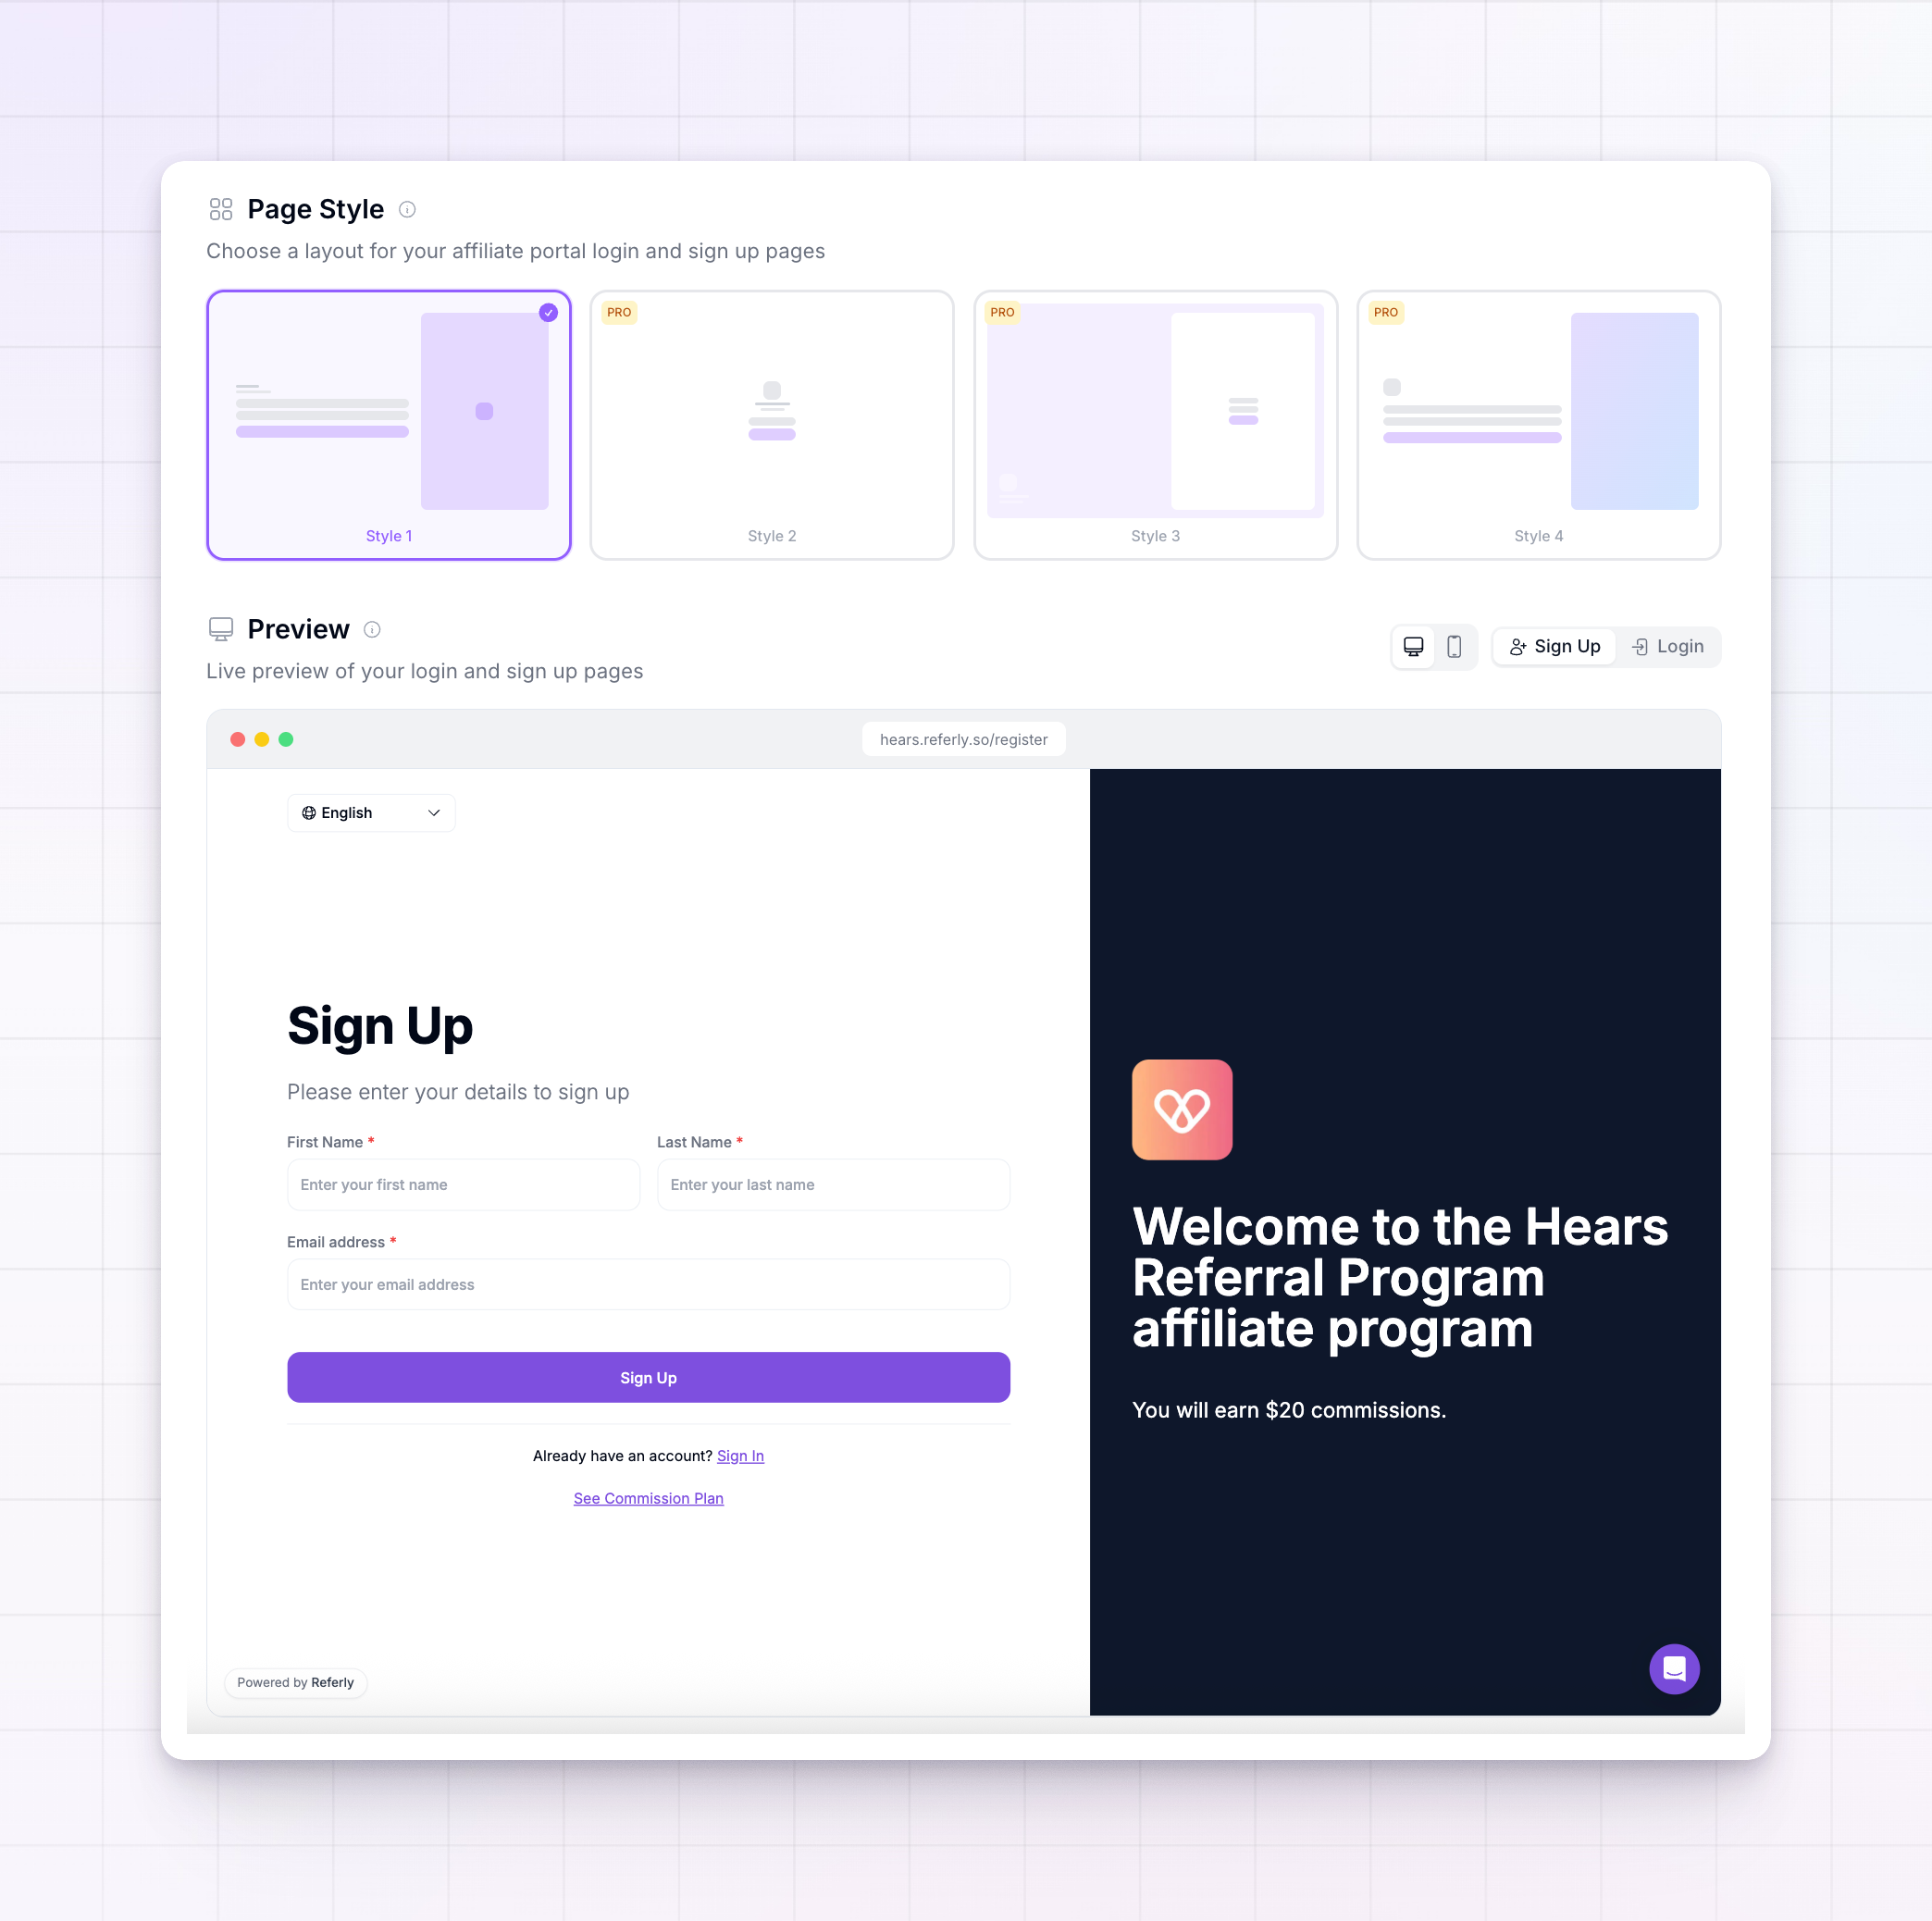
Selecting a style updates the preview right away and changes which customization options you'll see below, since each layout supports different things.
If you choose Style 2, 3, or 4 while on a plan that doesn't include it, you'll see a message saying "Styles 2, 3, and 4 require Business plan or higher" when you try to save, and your change won't be kept. Switch back to Style 1 or upgrade your plan to use the PRO styles.
### The four styles
Here's what each layout looks like once it's live.
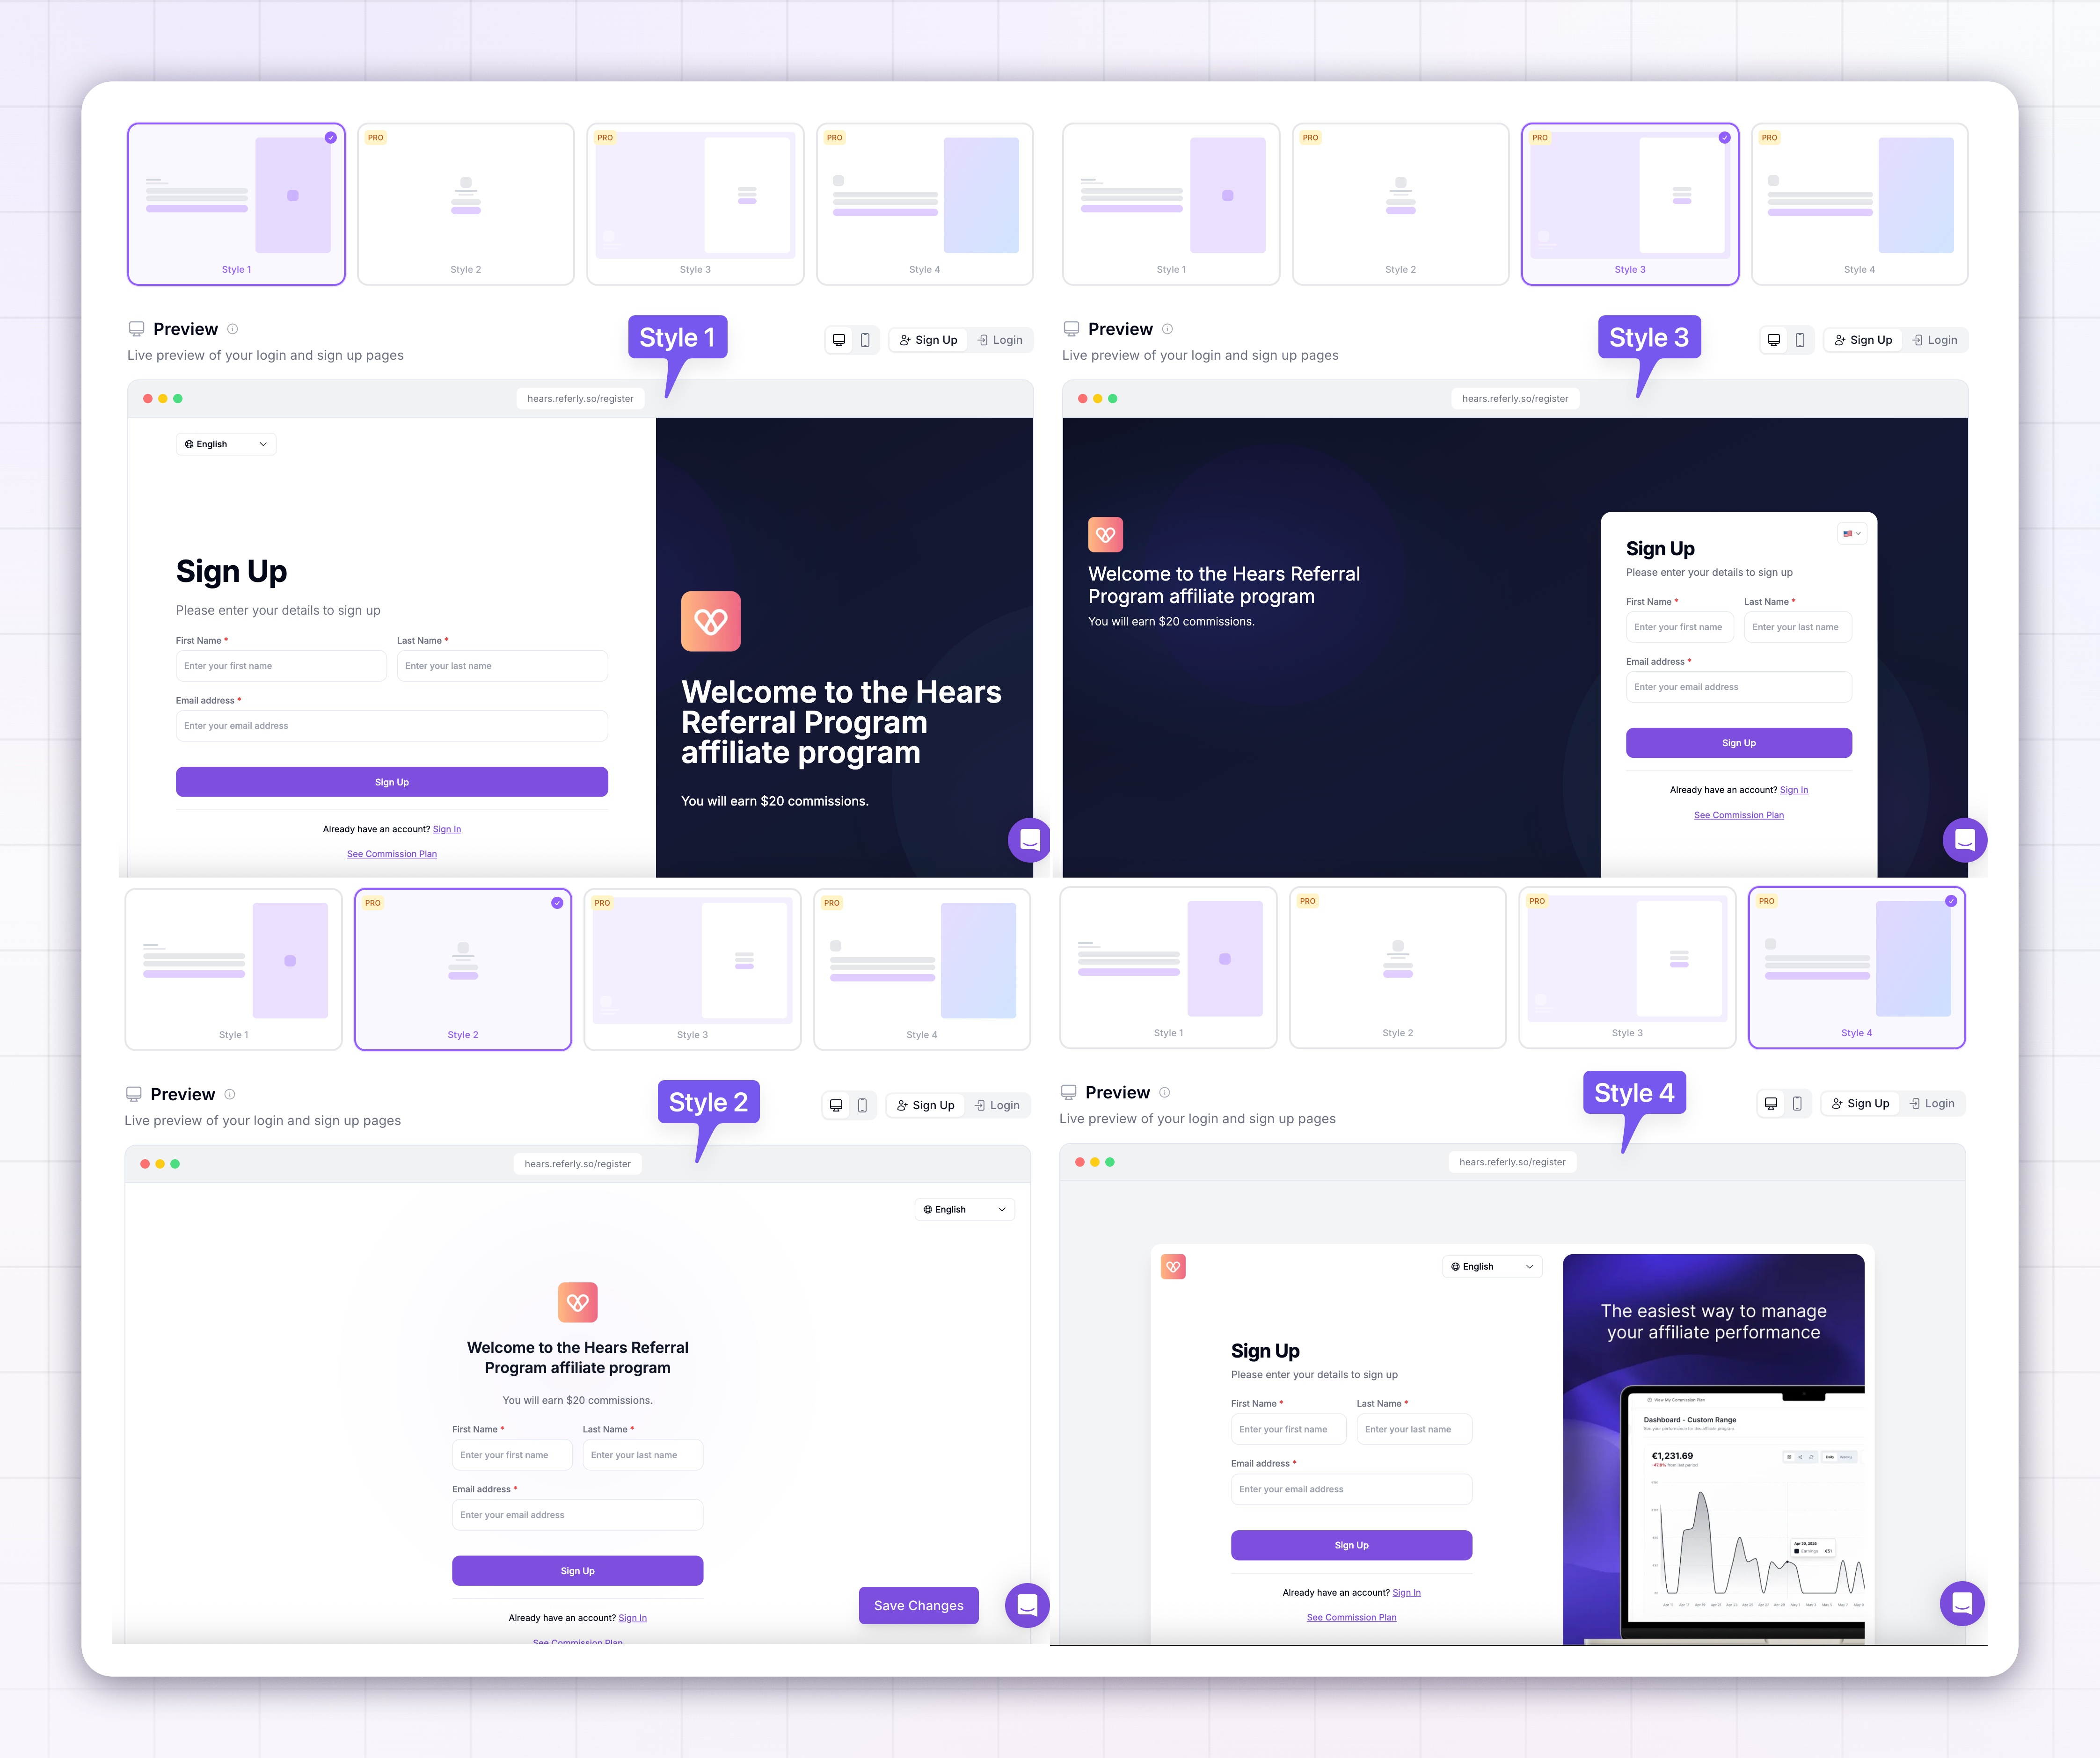
* **Style 1** is a split, two-panel layout. The sign-up or login form sits on the left, and a colored panel on the right shows your logo, title, and subtitle. This is the default and it works on every paid plan.
* **Style 2** is a centered, minimal layout. Your logo, title, subtitle, and the form all stack in the middle of the page on a clean background.
* **Style 3** is a full-page background with a floating form card. Your background color or image fills the whole page, and a white card holding the form floats on top.
* **Style 4** is a centered card with an image carousel. The form sits on one side of the card and a rotating set of images sits on the other.
## Preview your pages
The **Preview** panel shows a live version of your login and sign-up pages using your current settings. It updates as you make changes, so you can check the result before you save.
Two sets of buttons control what you're looking at. Use the **desktop** and **mobile** buttons to see how each page looks on a computer versus a phone. Use the **Sign Up** and **Login** buttons to switch between the two pages, since you're setting up both at once.
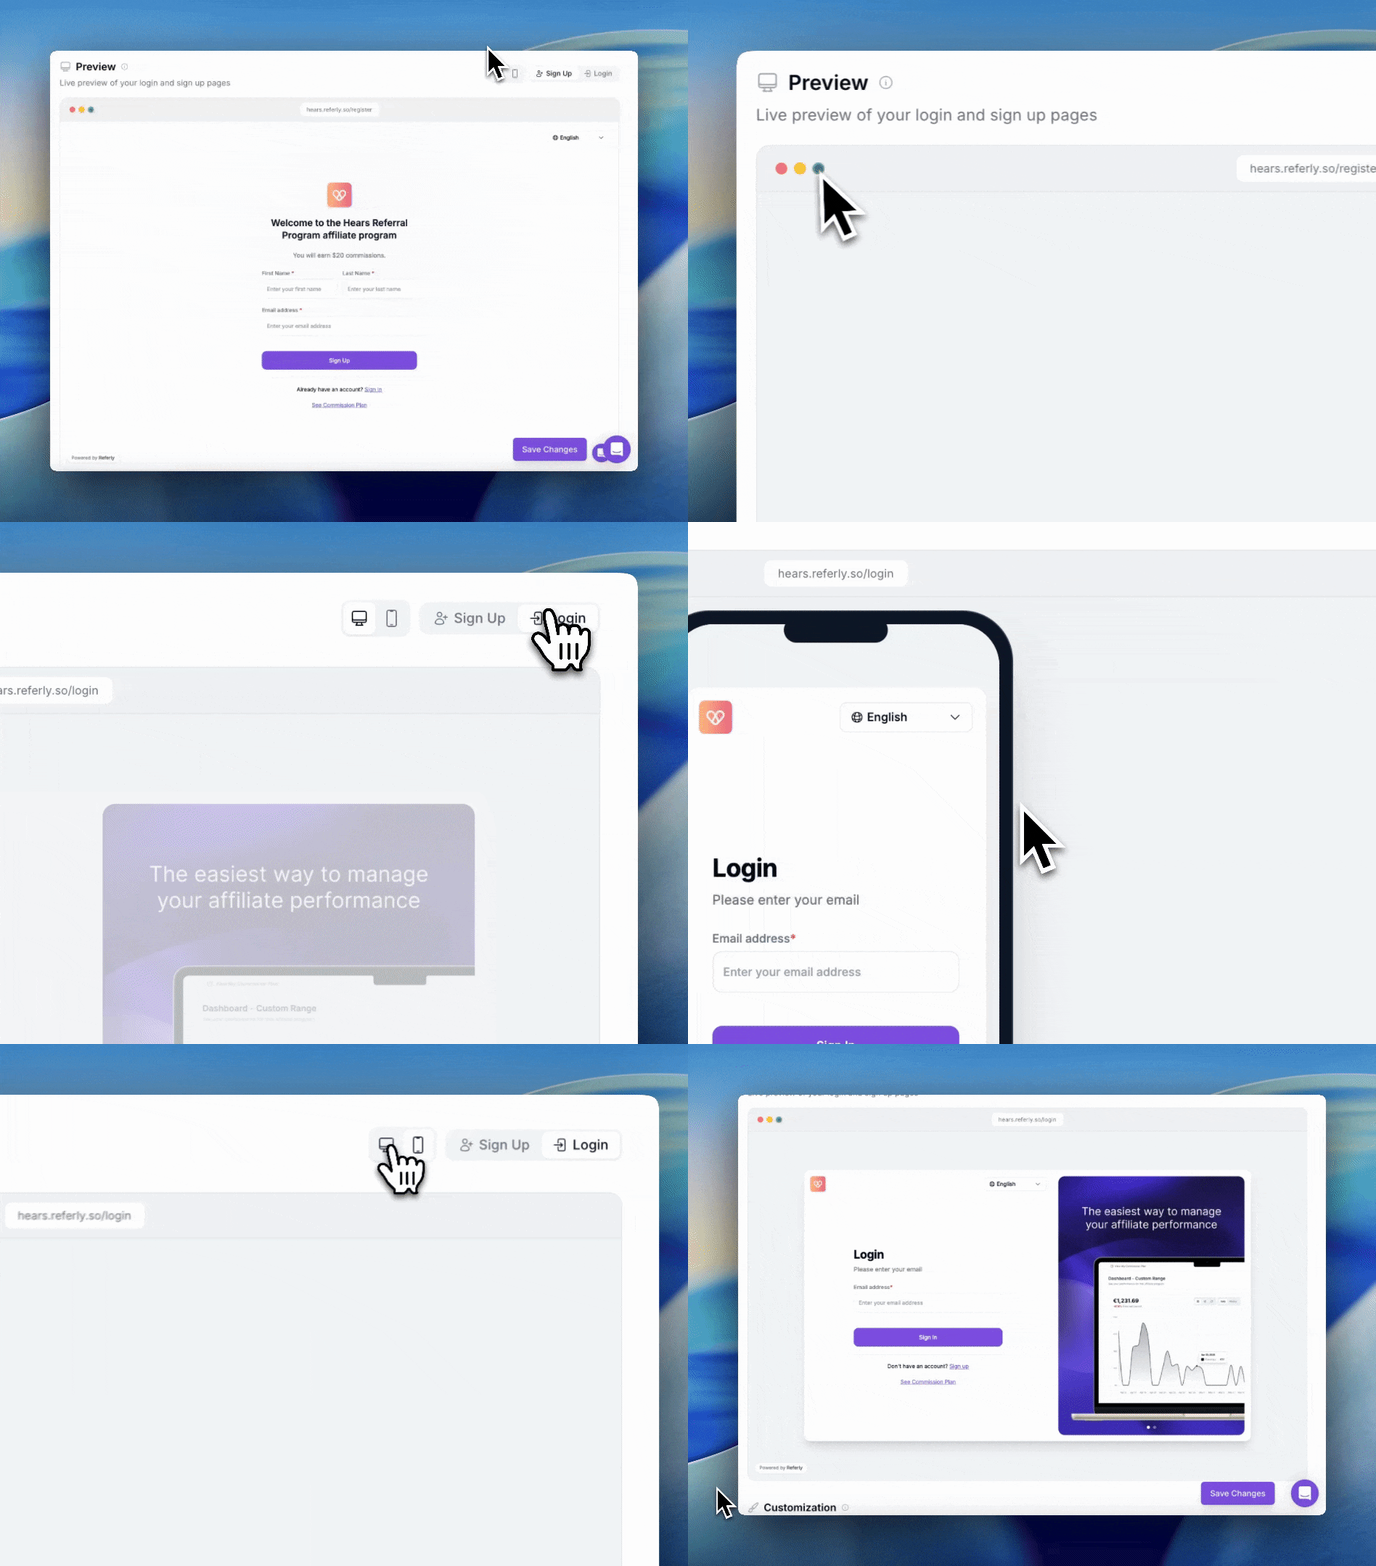
The preview needs your portal address to work. If you haven't set a subdomain yet, you'll see "Set a subdomain to preview your pages" instead of the preview.
## Customize your pages
The **Customization** area is where you set the logo, text, background, and images. The sections you see depend on the page style you picked, so some of the options below won't appear for every style.
### Logo
The **Logo** section controls whether your logo shows and which version of it appears.
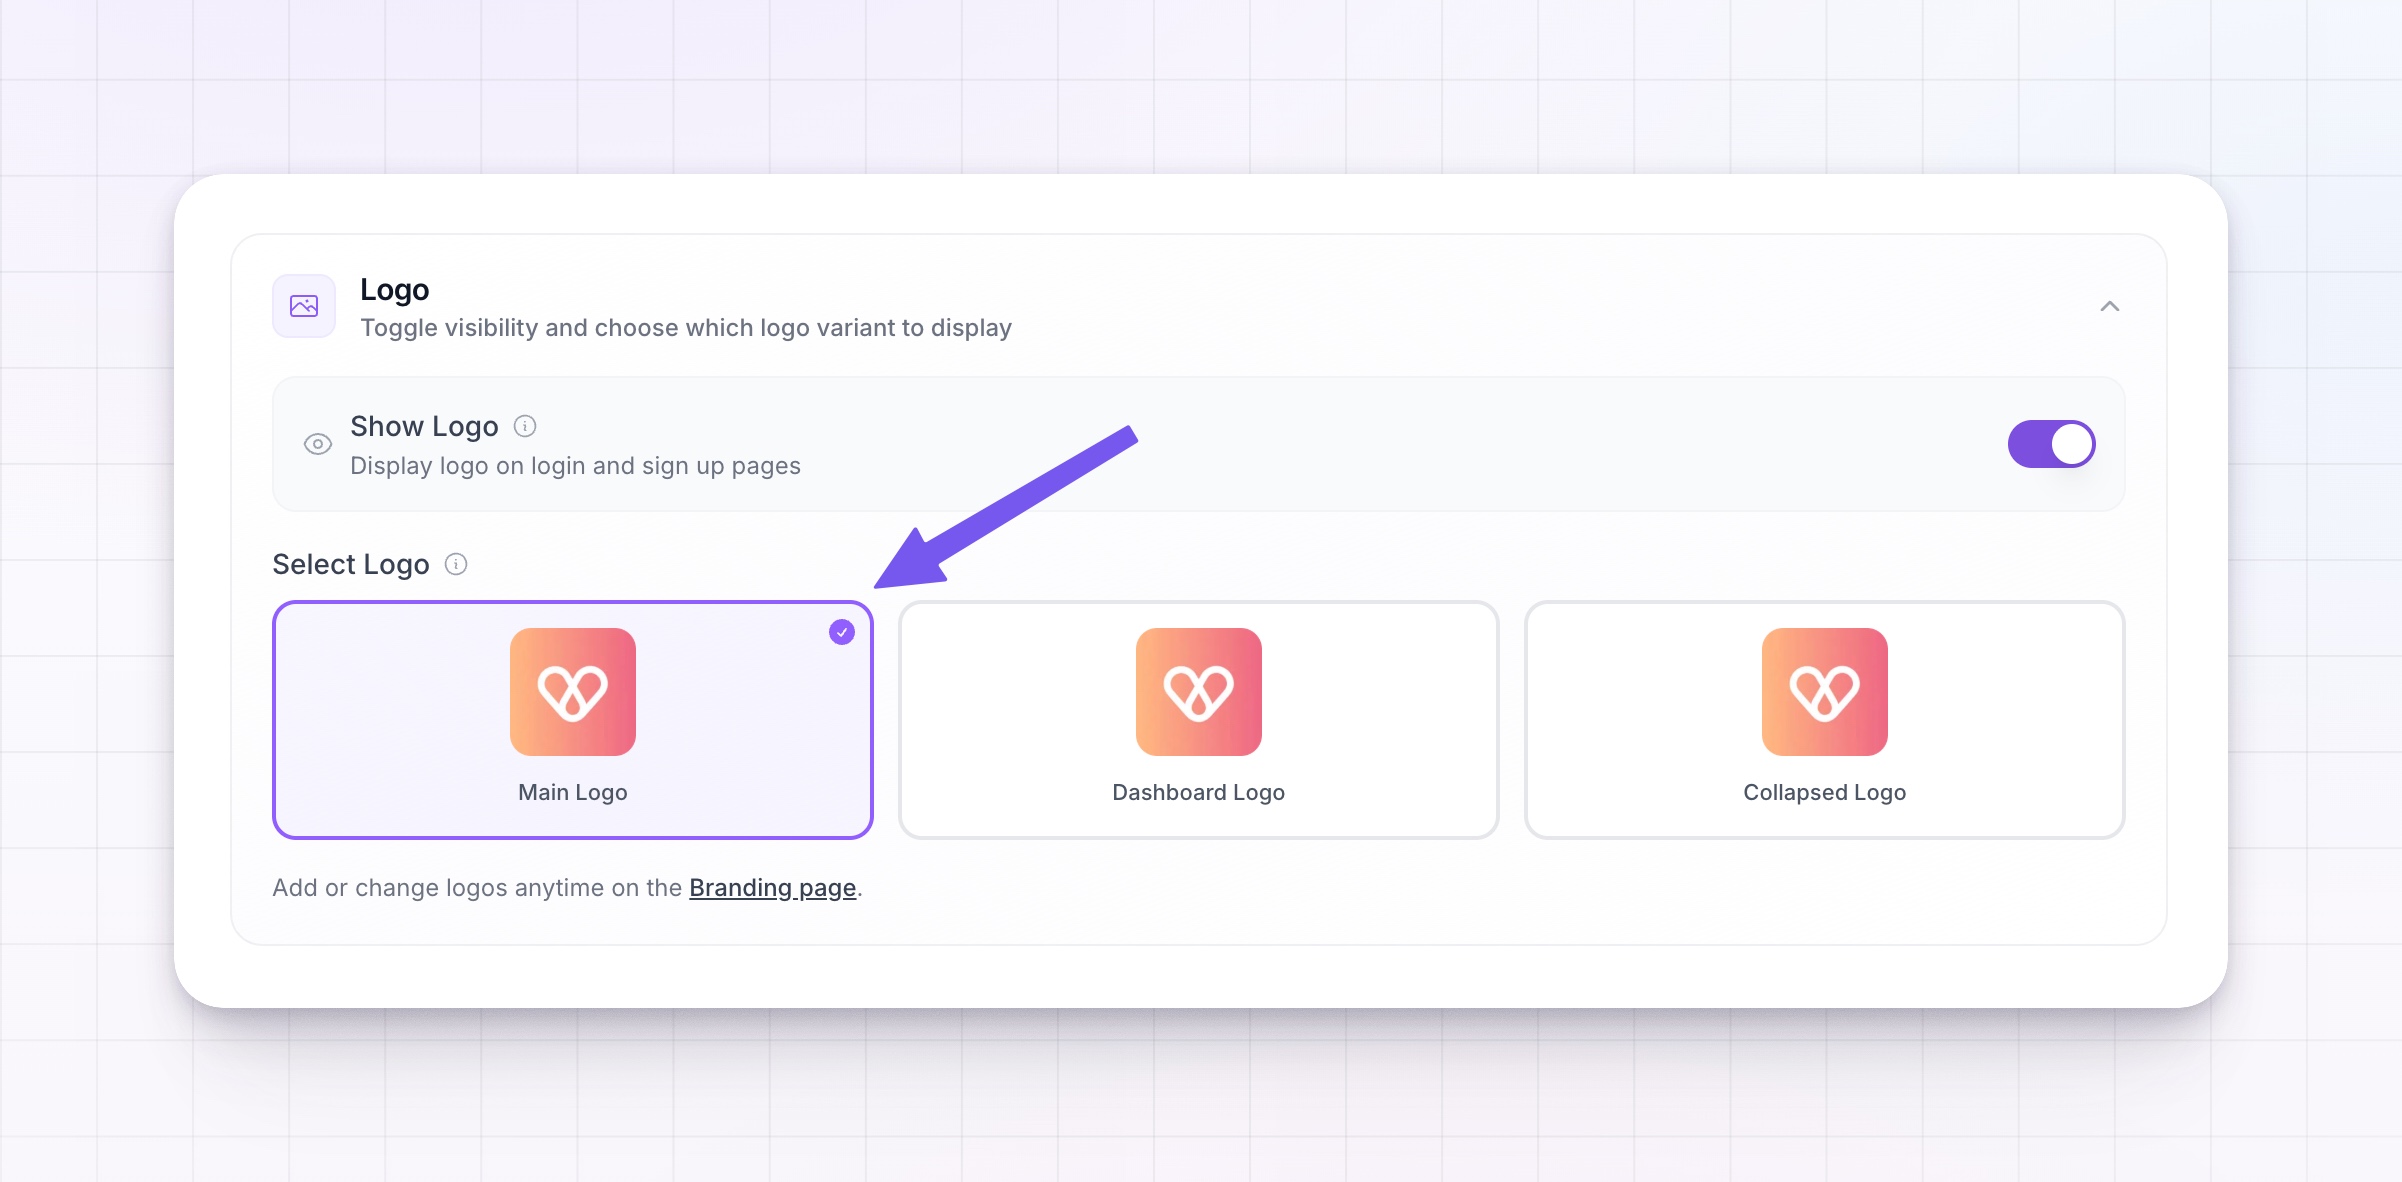
Use the **Show Logo** toggle to decide whether your logo appears on the login and sign-up pages. This toggle is available for Styles 1, 2, and 3.
Under **Select Logo**, choose which uploaded logo to show: **Main Logo**, **Dashboard Logo**, or **Collapsed Logo**. Only the versions you've already uploaded appear here.
You upload these images on the [Branding](/docs/help-center/getting-started/set-up-program/branding) page. If you haven't uploaded any yet, you'll see a note asking you to add them on the Branding page first.
### Title and subtitle
The **Title & Subtitle** section sets the welcome text on your pages. It's available for Styles 1, 2, and 3. Each of the title and subtitle has its own on/off switch, so you can show one, both, or neither.
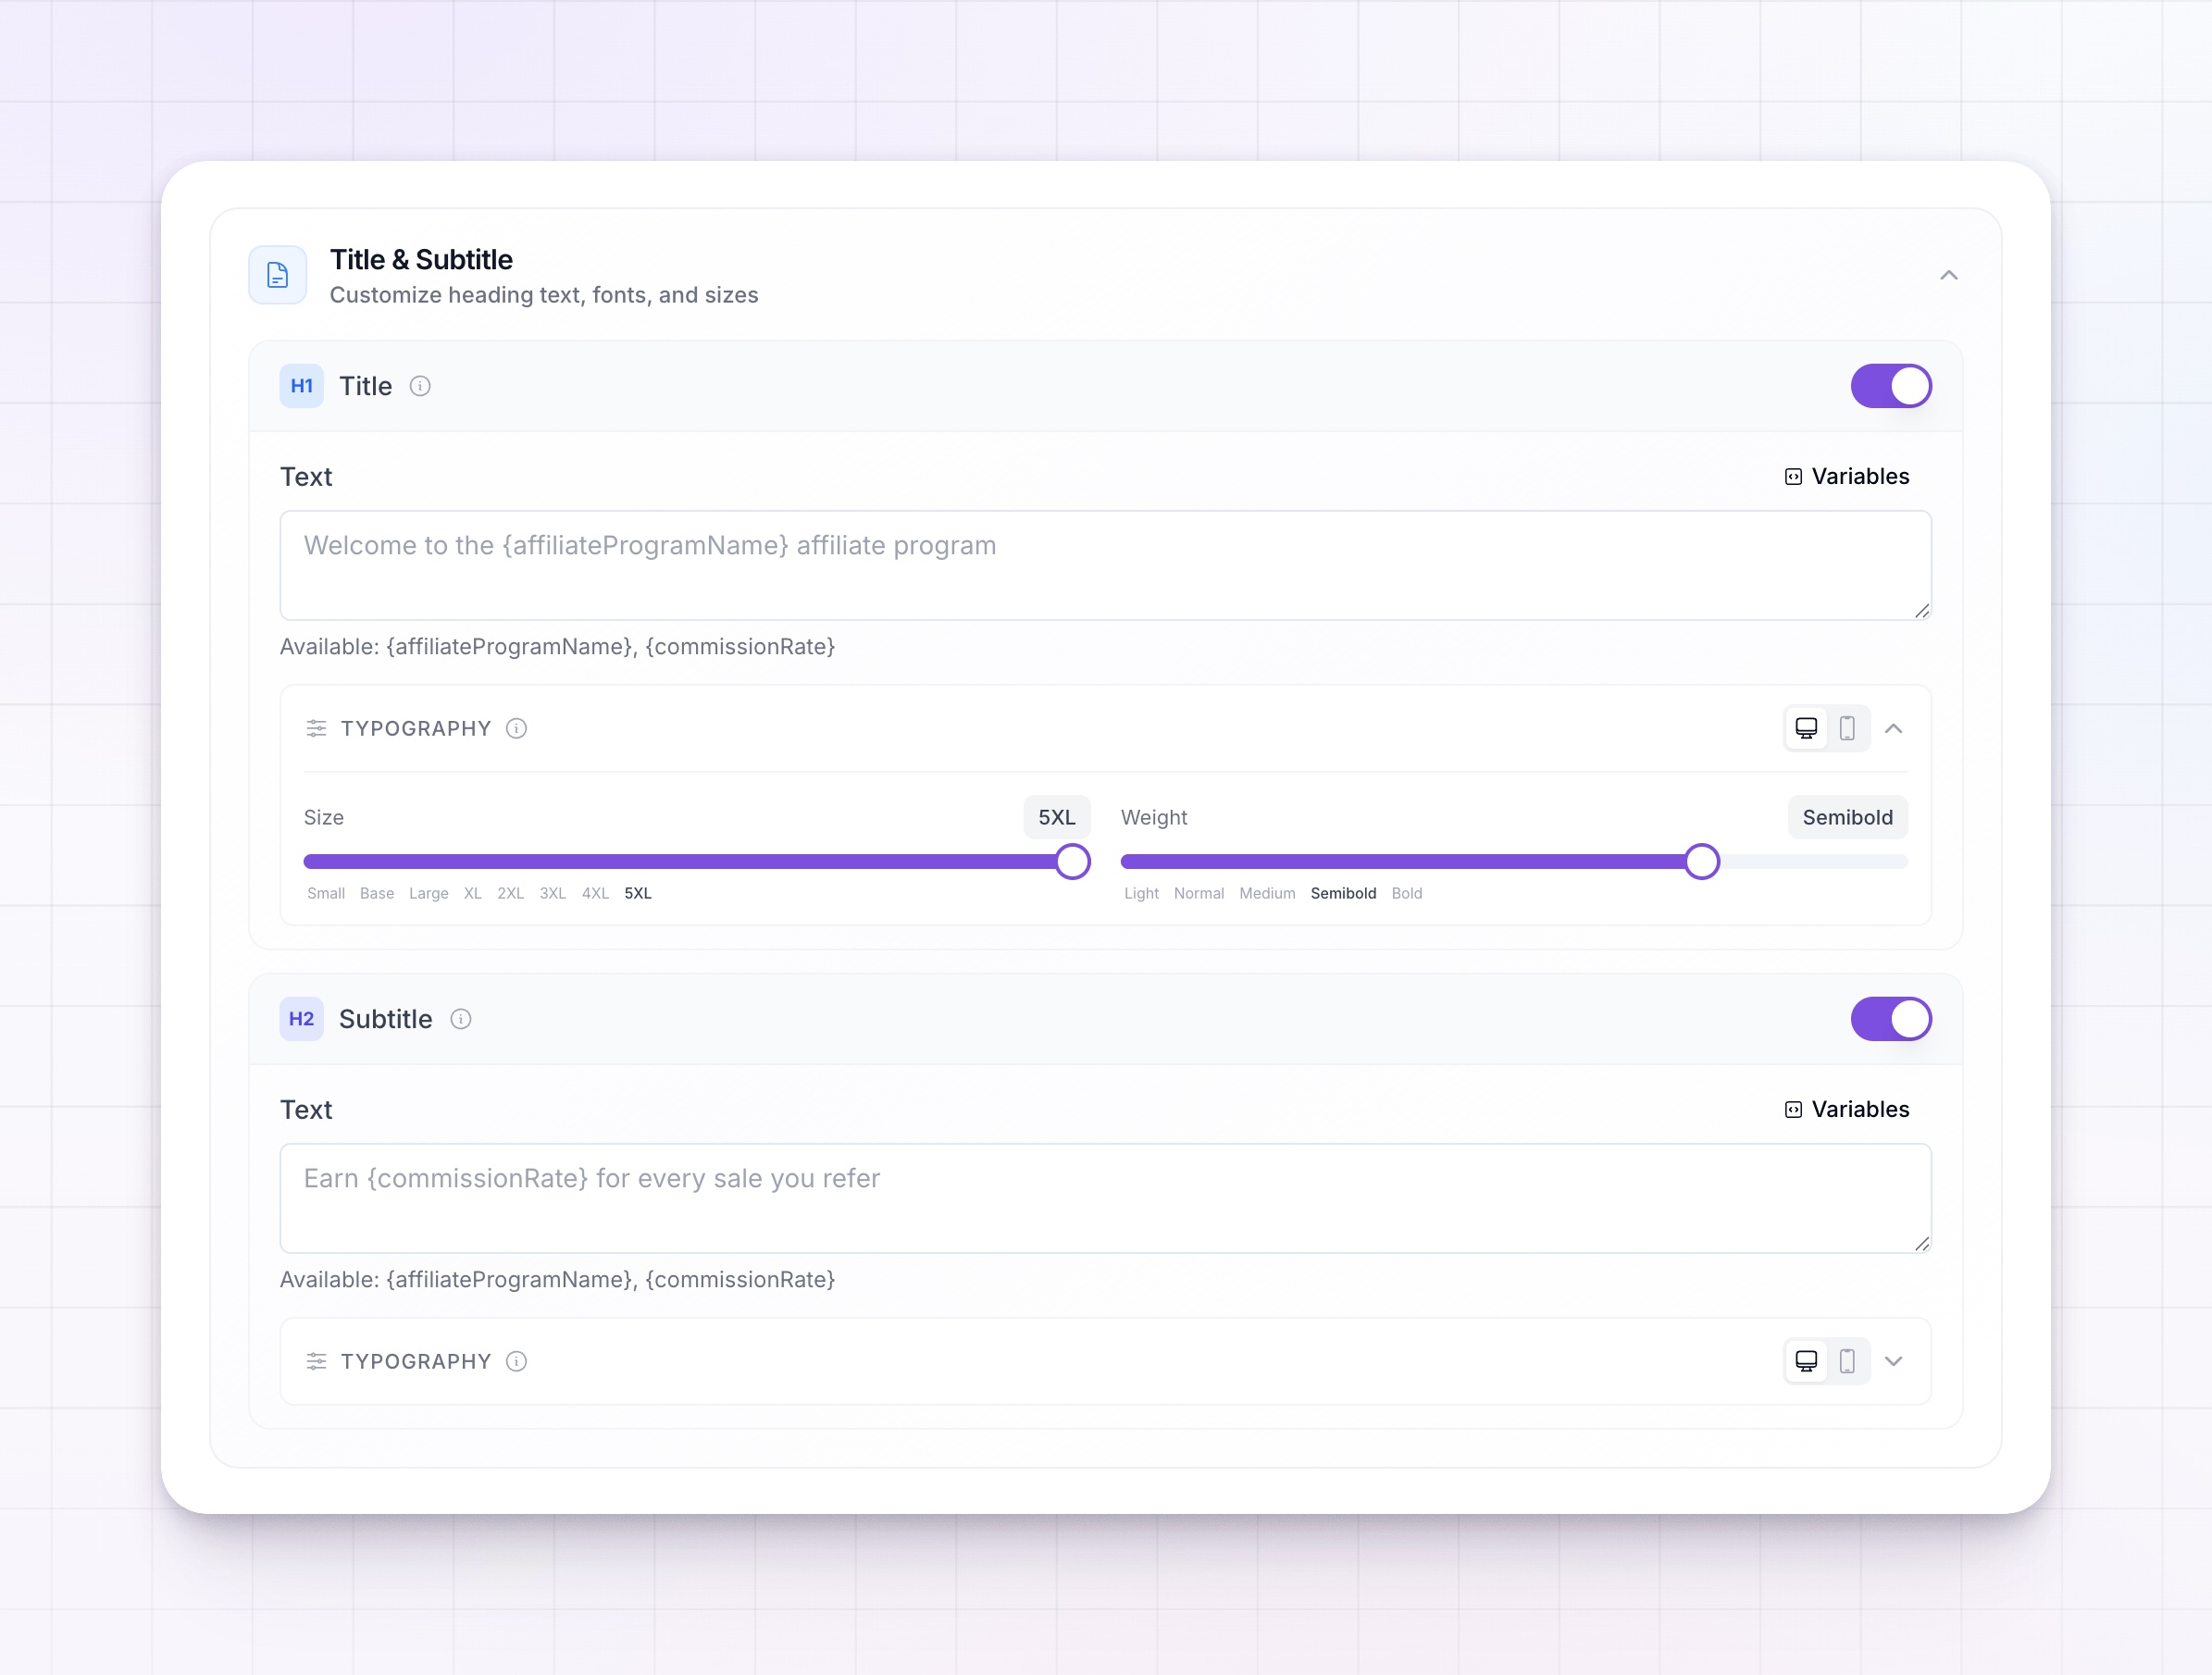
For each one, type your text into the **Text** field. The starting text uses placeholders like "Welcome to the `{affiliateProgramName}` affiliate program" for the title and "Earn `{commissionRate}` for every sale you refer" for the subtitle.
Select the **Variables** button to open the **Insert Variable** window, then choose **Affiliate Program Name** or **Commission Rate**. These drop in as `{affiliateProgramName}` and `{commissionRate}` and are replaced with your real program name and commission rate when an affiliate views the page. That way the text stays correct even if those details change later. Each text field holds up to 200 characters.
Open the **Typography** controls under the field to change the **Size** and **Weight** of the text. Use the desktop and mobile buttons here to set different sizes for computers and phones, so long headings don't crowd a small screen.
### Background
The **Background** section sets what fills the page behind your form. It appears for **Style 1** and **Style 3**, the two layouts that use a background.
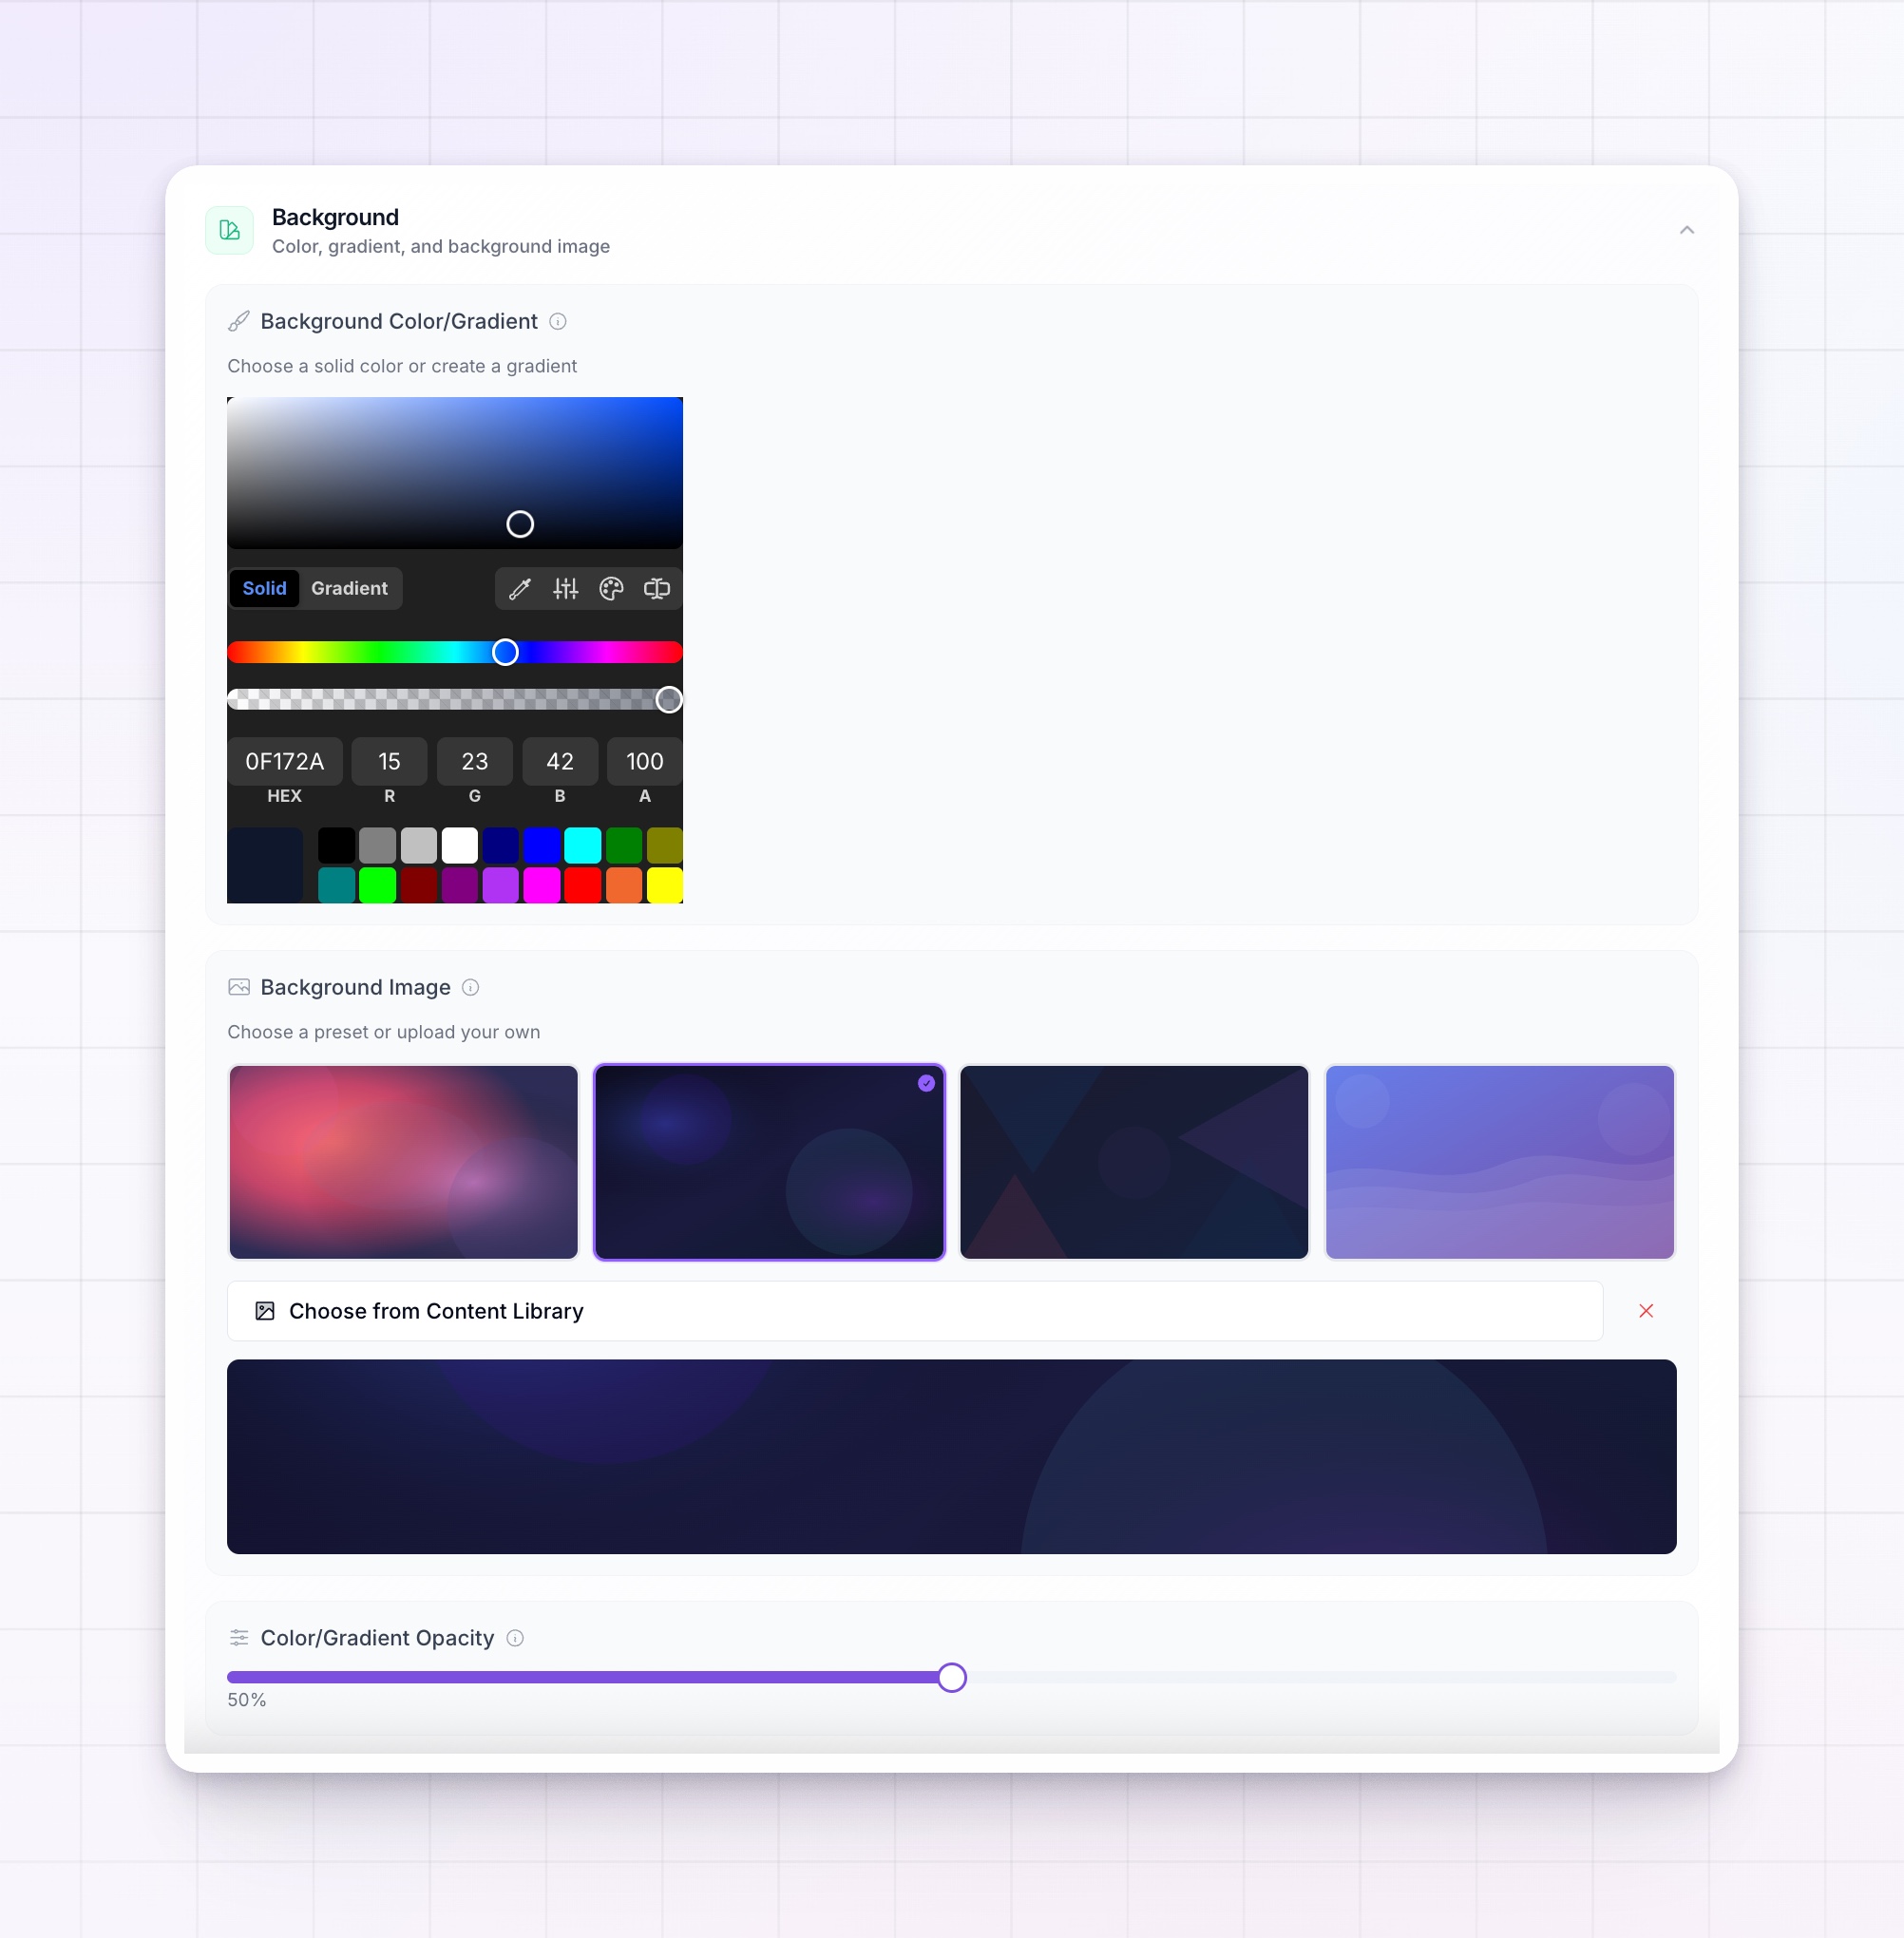
Use the **Background Color/Gradient** picker to set a solid color or build a gradient. This sits behind everything else.
Under **Background Image**, choose one of the four presets, or select **Choose from Content Library** to use one of your own uploaded images. The image sits on top of the color. To clear an image, use the X on it.
Once you set a background image, a **Color/Gradient Opacity** slider appears. It controls how much of your color or gradient shows through on top of the image. A lower value shows more of the image.
### Carousel images
The **Carousel Images** section appears only for **Style 4**. These are the images that rotate on one side of the card.
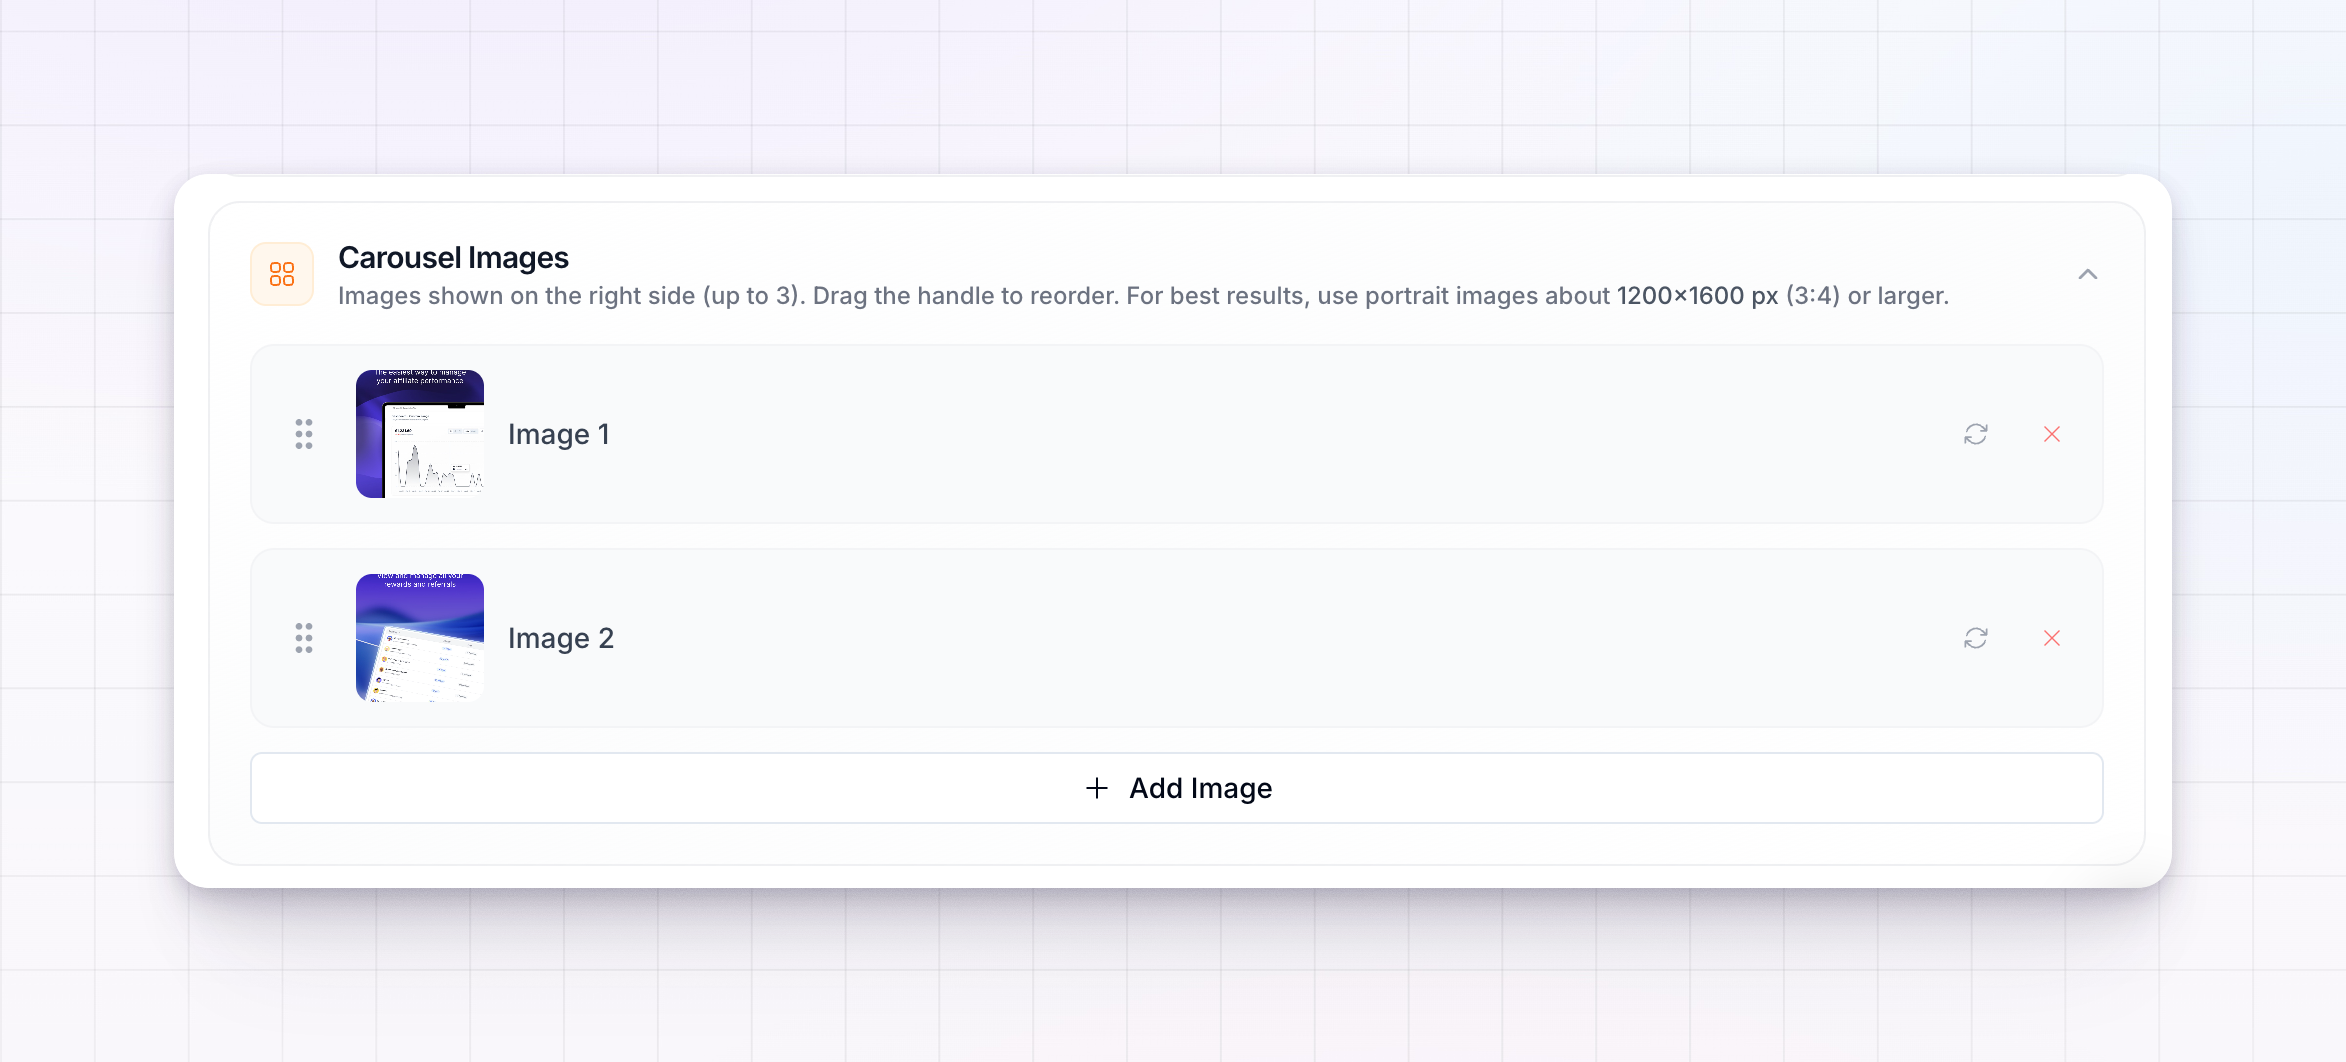
You can add up to three images, all from your Content Library. Select **Add Image** to add one. To reorder them, drag an image by its handle. Each image also has buttons to swap it for another or remove it. For the best look, use portrait images about 1200 by 1600 pixels, or larger.
### Save your changes
As soon as you change anything on this screen, a **Save Changes** button appears at the bottom right. Your edits aren't live on the affiliate portal until you select it.
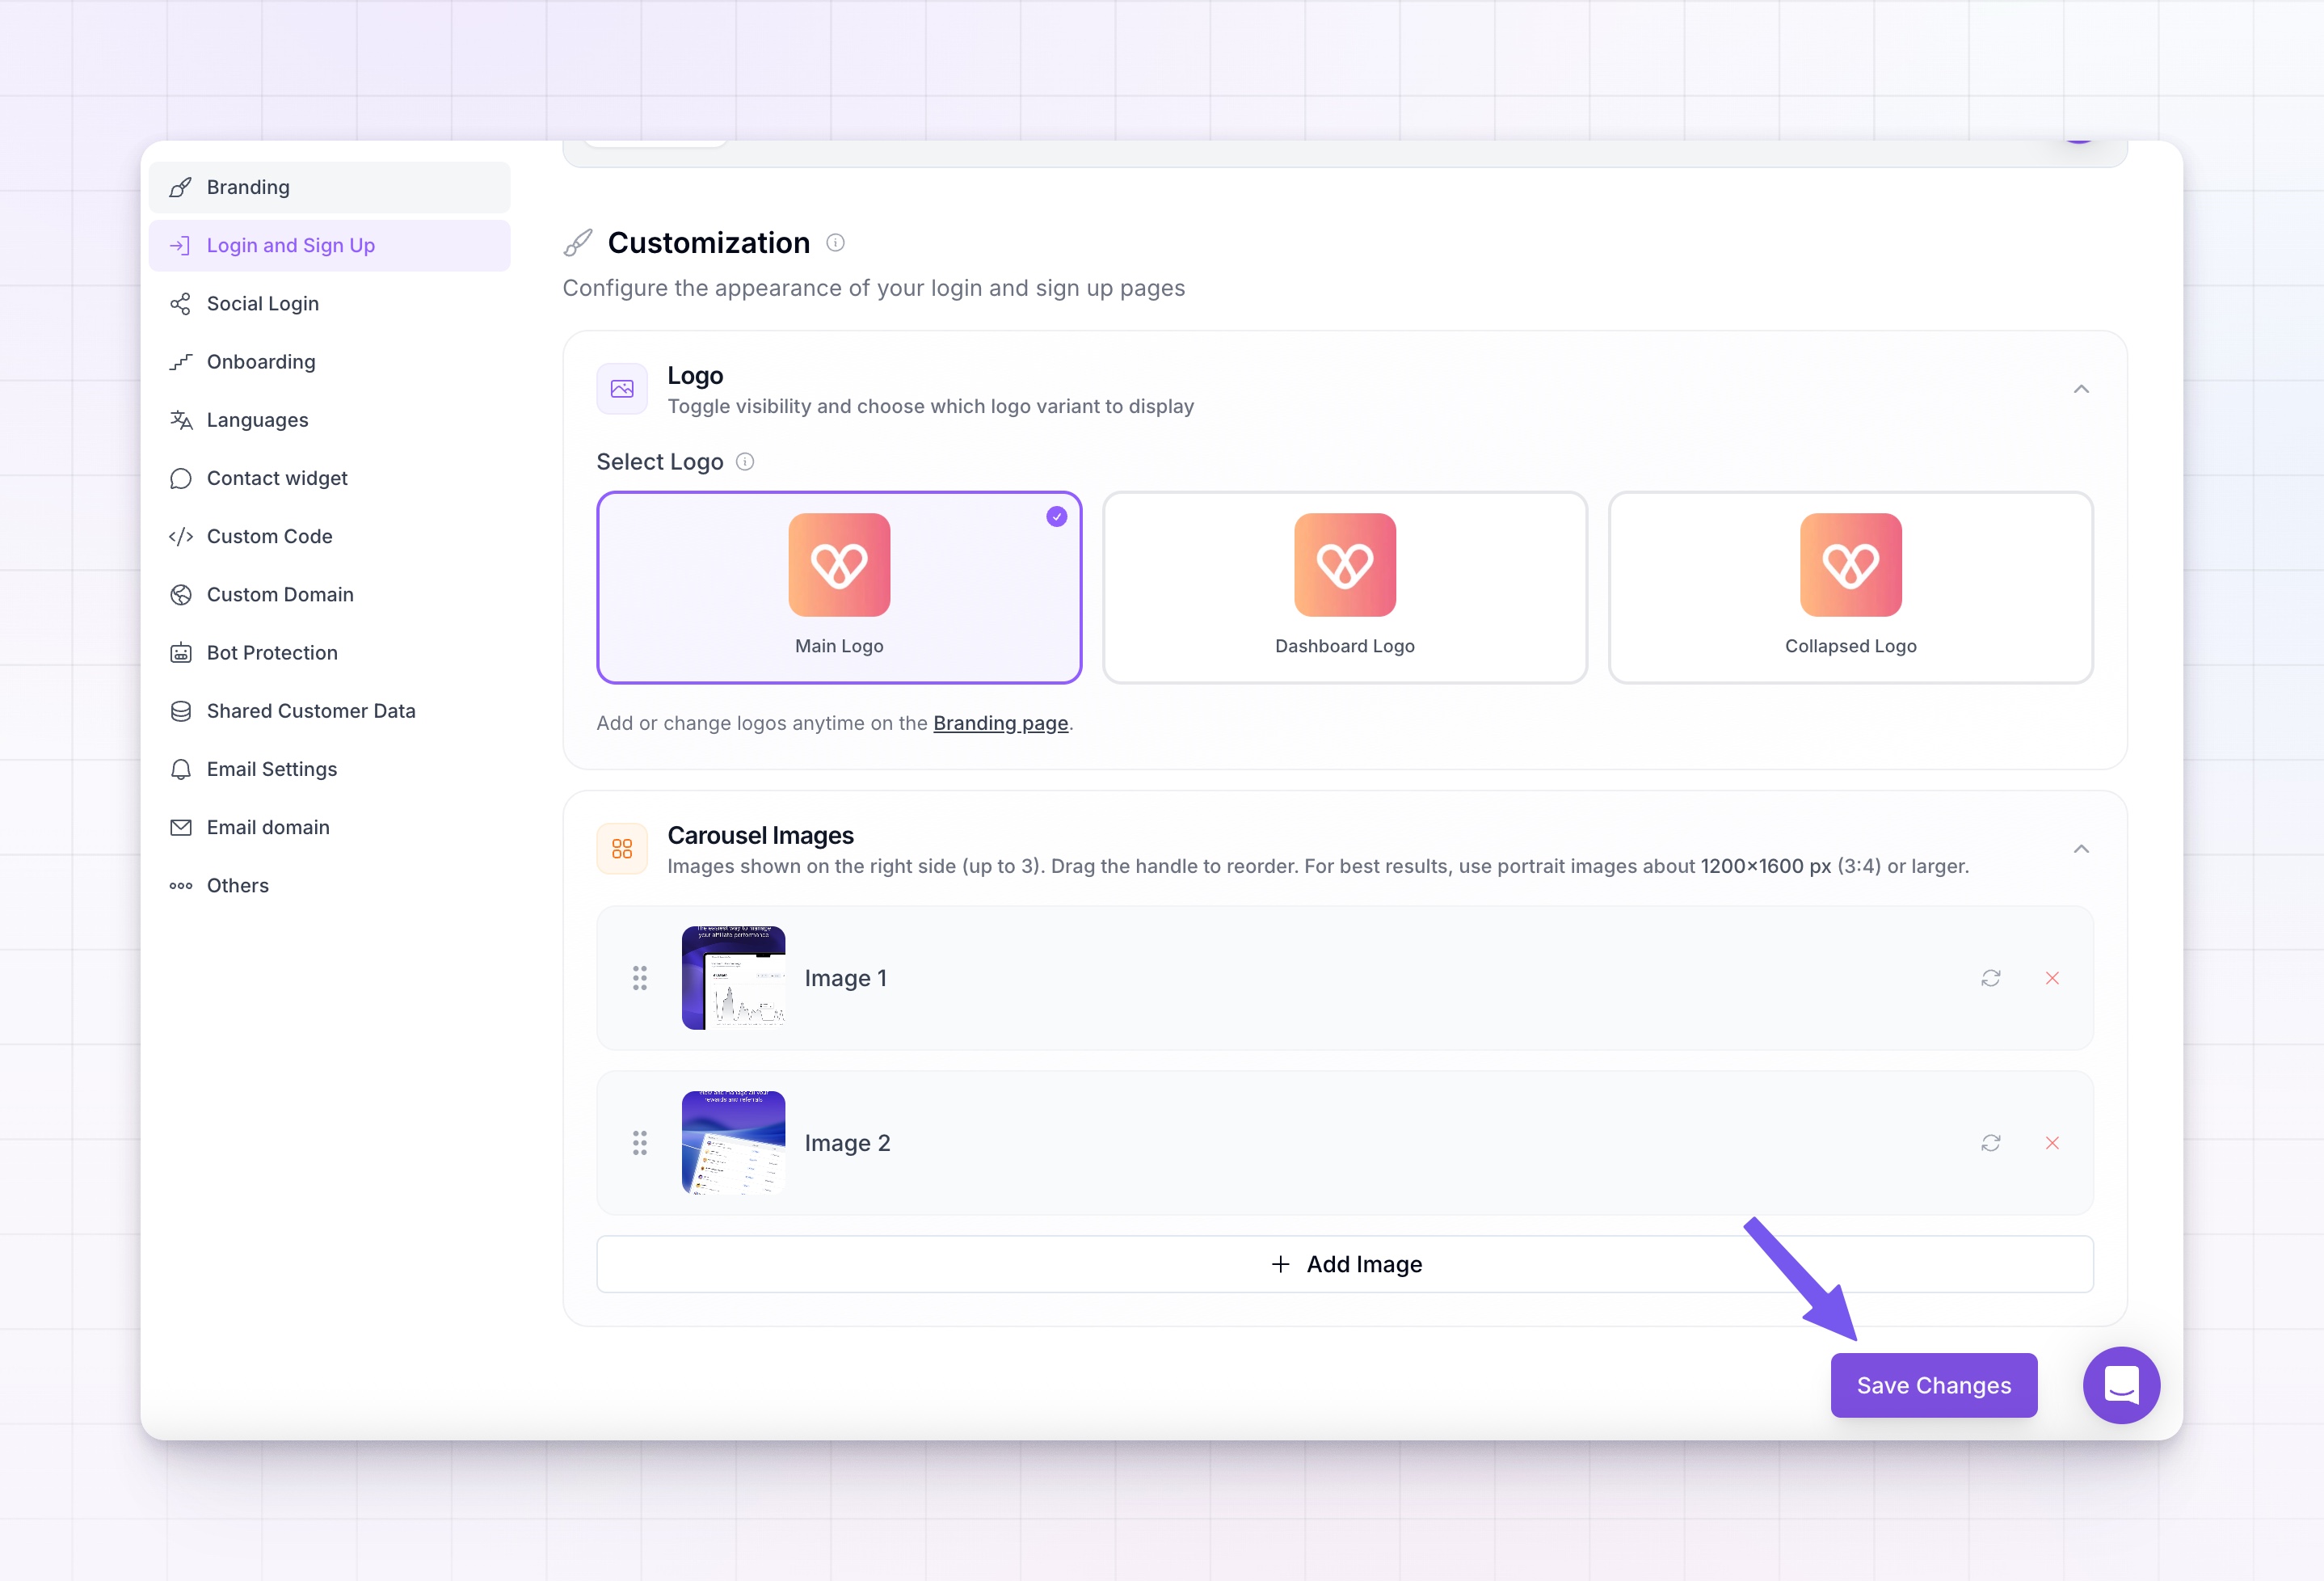
When the "Login & Sign Up settings saved successfully" message appears, your login and sign-up pages are live with the new look.
If you leave the screen before selecting **Save Changes**, your edits won't be kept, so save before you navigate away.
## Related
Upload the logos you pick from here and set your brand colors.
Let affiliates sign in with a social account.
Open your portal so new affiliates can apply.
See which plan unlocks the PRO page styles.